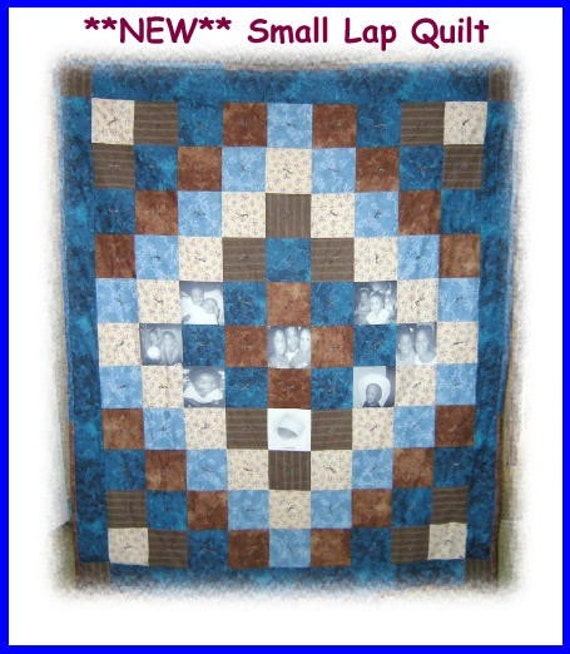
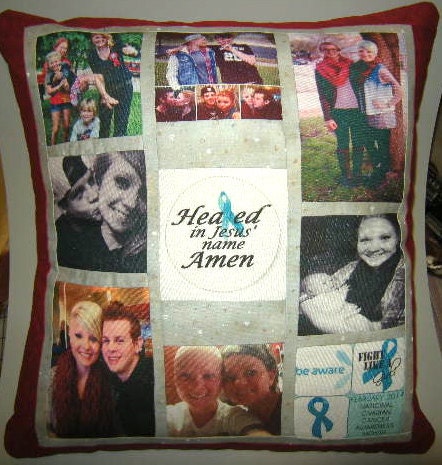
| One imprinted square on a table runner I made. |
First of all, I had to buy my supplies and equipment, with my hubby’s agreement and support. I also got some advice from another entrepreneur who understood and supported the idea, plus I did some research into the whole imprinting process to learn what I needed to purchase:
Epson C88 printer
CISS (Continuous Ink Supply System)
Sublimation ink
Dye transfer paper
Heat press
Teflon sheets
Poly-poplin fabric
The Epson printer is rigged with the CISS and sublimation ink. This is what a CISS looks like and how it works in the printer (no affiliate link here – just a helpful video!)
After printing the photos or text in mirror image on the dye transfer paper, the next step is to use the heat press to transfer the image to the fabric.
| My heat press. |
| An assortment of some of my "kreations." |
The combination of the sublimation ink and the heat press transforms the ink into a gas, which permeates the fabric. This causes the photos to virtually become part of the fabric, making them permanent, while the fabric stays soft and flexible (not the stiff ironed-on feeling!) AND you can also wash and dry the items with the imprinted photos!
 |
| Lap quilt I made for an Etsy customer. |
So there you go – that’s the story of how I added to my repertoire of
“kreative” talents and imprinted photos have become my most popular
option for the products I make.
If you're interested in checking out my sites to see other products, here are my links:
Did you have any idea before reading this of how much was involved in the process? What about you? Do you have any favorite tutorials that help you accomplish certain tasks?


